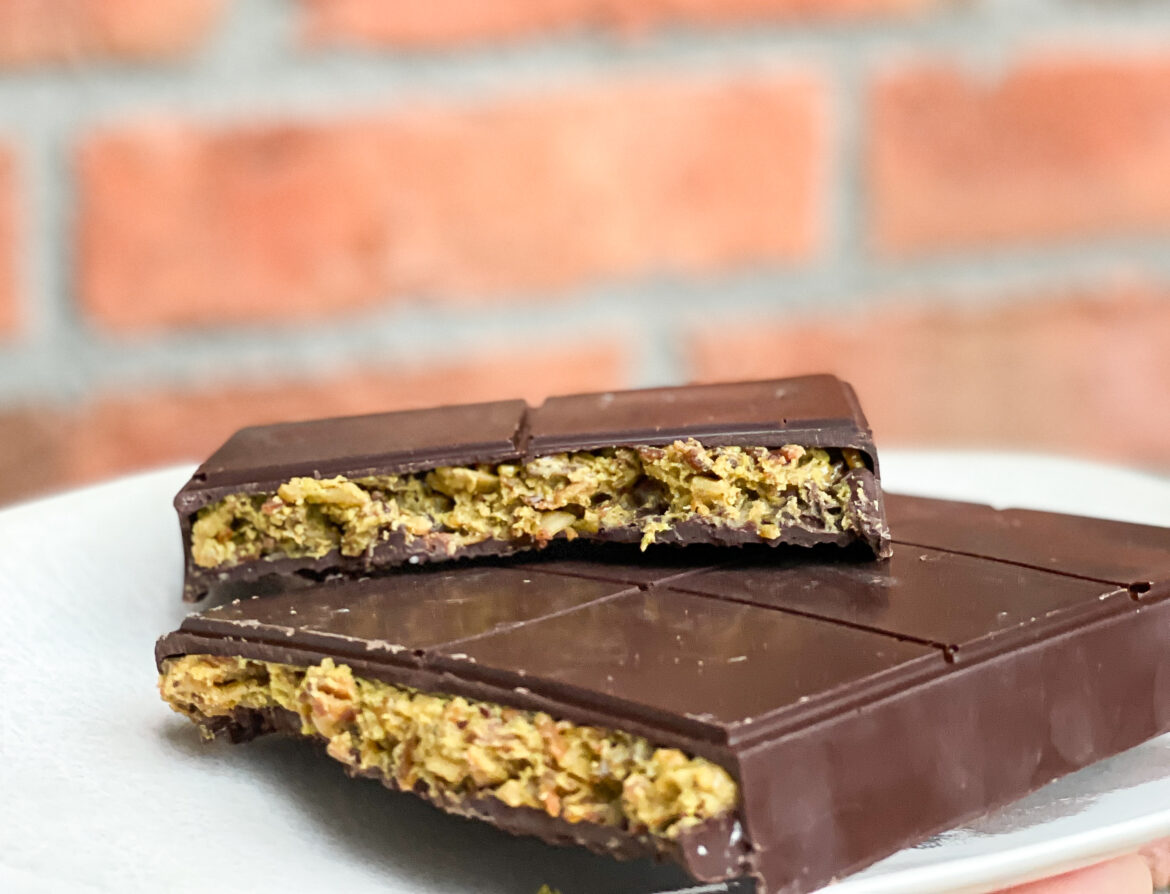
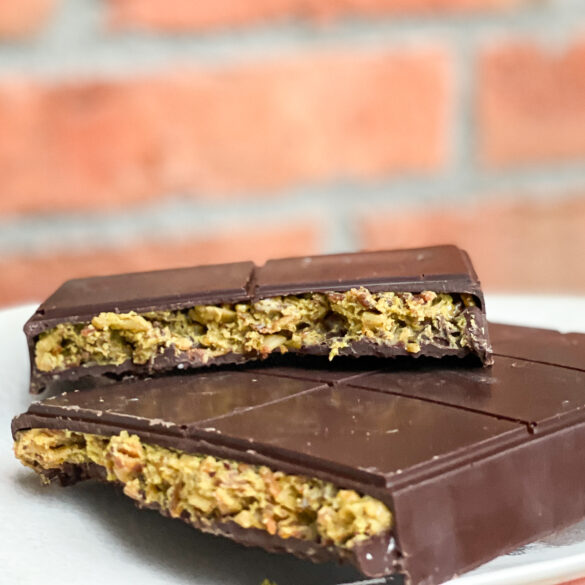
In recent months, hardly any sweet product has attracted as much attention as Dubai Chocolate. At first glance, it might sound like just an ordinary chocolate – but its taste and ingredients make it something truly special. Dubai Chocolate is filled with a delicate pistachio cream, tahini (sesame paste), and what is known as “roasted angel hair.” This angel hair is a Turkish Kadayif dough that contains gluten, making it problematic for people with celiac disease. However, despite this limitation, there are creative ways that even those affected can enjoy this delicacy.
I myself have been living with celiac disease for about 15 years and was not deterred from recreating Dubai Chocolate. In this article, I will show you how you can also make this delicious chocolate at home – gluten-free and tailored to your taste.
Where Does Dubai Chocolate Come From?
As the name suggests, Dubai Chocolate comes from Dubai, the impressive metropolis of the United Arab Emirates. The original Dubai Chocolate is produced by the Fix Dessert Chocolatier and is currently only available in Dubai. So, if you find a “Dubai Chocolate” outside of Dubai, it is probably not the original.
The creator of this unique chocolate is Sarah Hamouda, the founder of Fix Dessert Chocolatier. She had the idea to combine classic Dubai pastries with high-quality chocolate. During her second pregnancy in 2021, she was searching for a special treat that reflected the flavors of her hometown, Dubai. When she couldn’t find anything that met her expectations, she decided to create the chocolate herself. The real hype, however, began in 2023 when food influencer Maria Vehera shared the recipe in a TikTok video.
Ingredients for Dubai Chocolate and How to Make It Yourself
Dubai Chocolate has relatively few ingredients, which makes it fairly simple to recreate at home. The base consists of couverture, pistachio cream, tahini, and the signature angel hair for the filling.
Here’s how you can make Dubai Chocolate yourself:
- Couverture: Make sure to use high-quality couverture, as it provides the best flavor and texture. You can choose dark, milk, or white chocolate depending on your taste preference.
- Pistachio Cream: You can buy ready-made pistachio cream, but I recommend making your own. This gives you more control over the sweetness and flavor. Simply blend pistachios until you get a fine cream.
- Tahini (Sesame Paste): Tahini is essential for the distinctive flavor of Dubai Chocolate. It gives the chocolate a rich, deep taste.
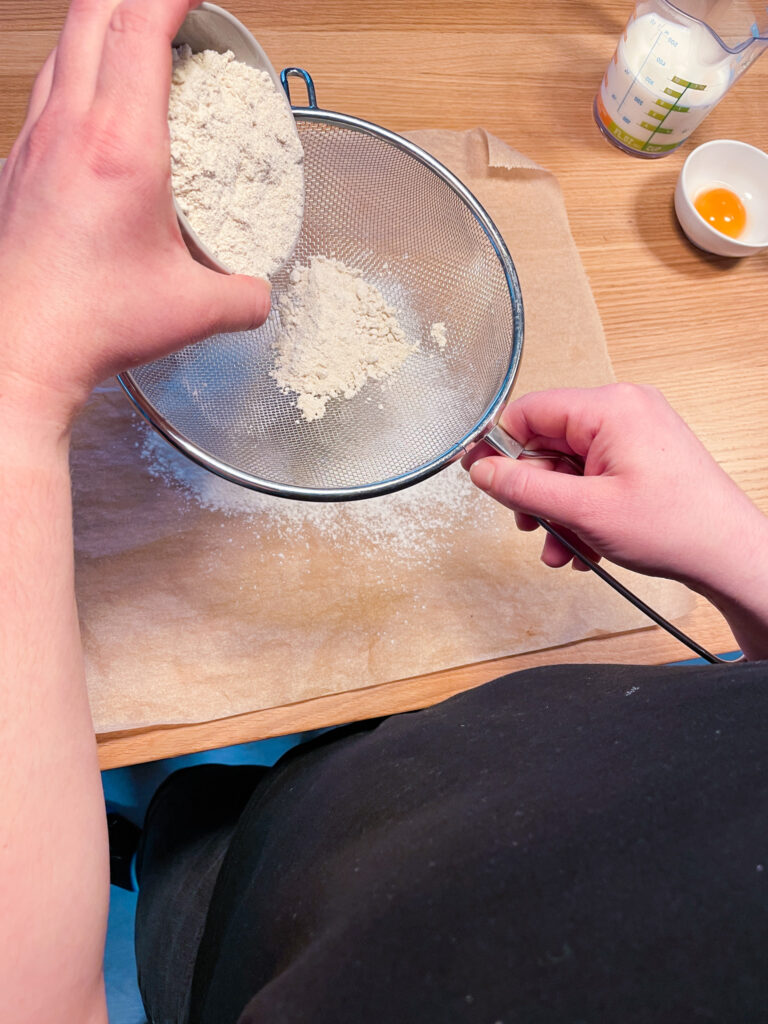
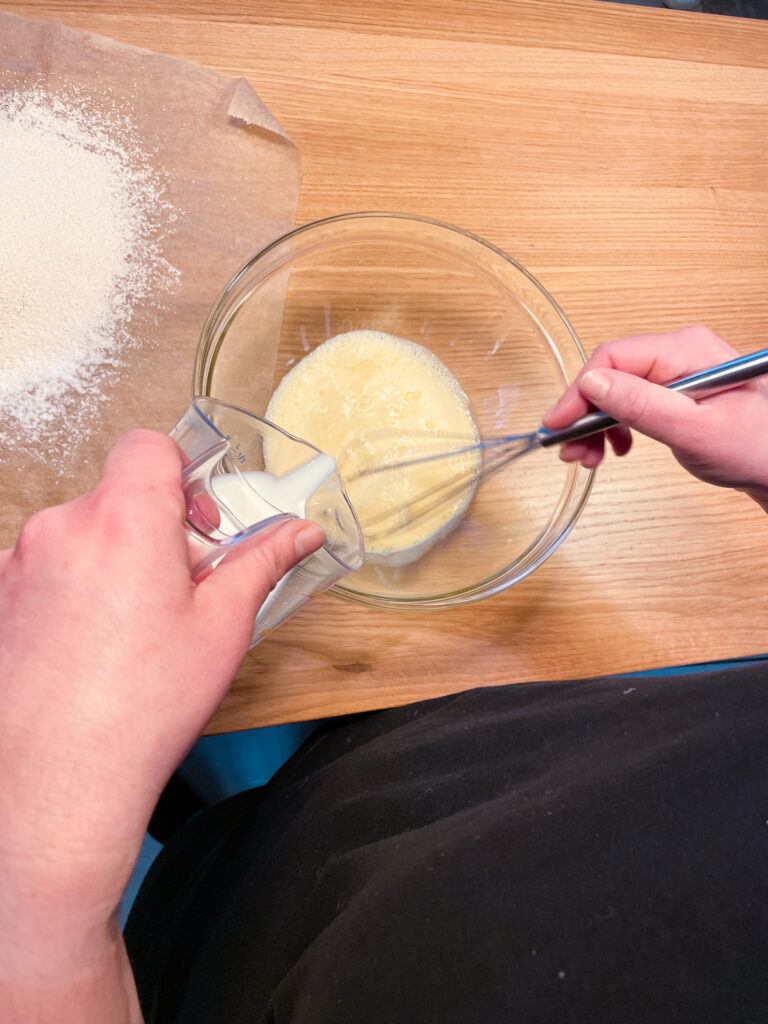
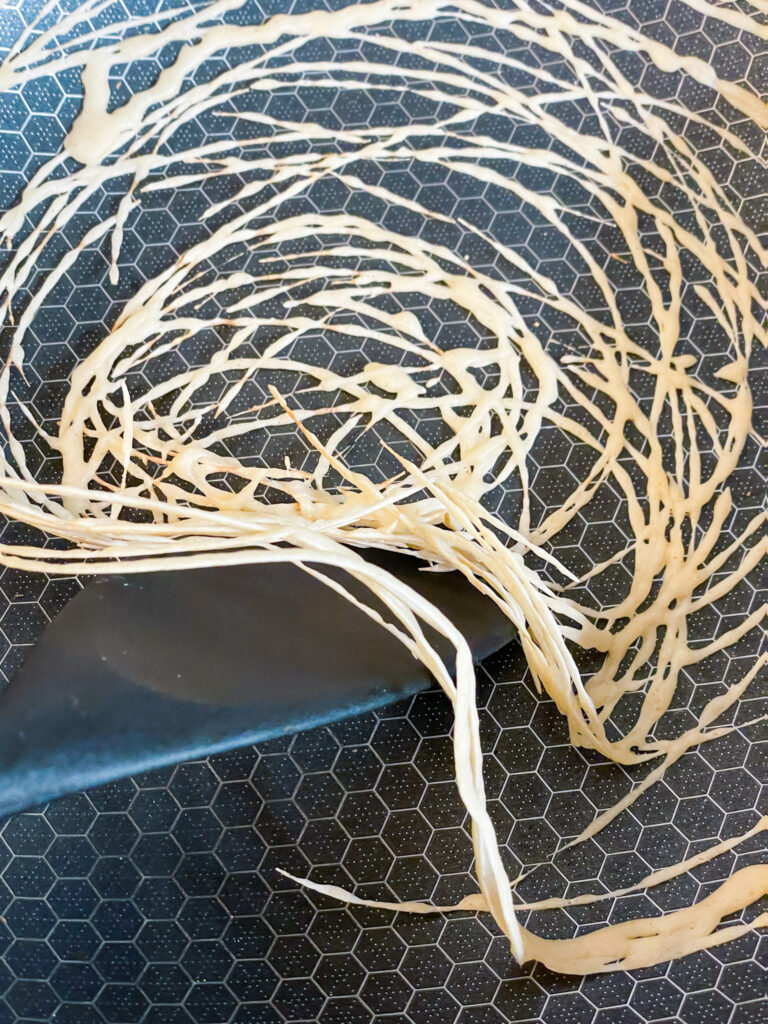
- Angel Hair: The original recipe uses Kadayif dough, which contains gluten. For a gluten-free version, you can either make the dough yourself or choose a gluten-free alternative, such as rice noodles. I opted for a homemade gluten-free version that turns out just as crispy.
How to Temper Chocolate and Why It’s Important
Tempering chocolate is a crucial step to achieving a shiny, crisp texture. Couverture contains more cocoa butter than regular chocolate, making it ideal for making pralines or pouring. By following the correct temperature curve, you ensure that the chocolate stays stable and has the characteristic snap when broken.
The Temperature Curve for Tempering Chocolate:
- Dark Chocolate:
- Melt: 50–55 °C
- Pre-crystallization: 27–28 °C
- Processing: 31–32 °C
- Milk Chocolate:
- Melt: 45–50 °C
- Pre-crystallization: 27–28 °C
- Processing: 29–30 °C
- White Chocolate:
- Melt: 40–45 °C
- Pre-crystallization: 26–27 °C
- Processing: 28–29 °C
The temperature curves are essential for properly arranging the chocolate crystals. If you don’t temper the chocolate, it will be matte and unstable after cooling, lacking the typical snap.
The Right Technique: Pouring Chocolate and Making Pralines
The best way to pour Dubai Chocolate is by using a polycarbonate mold. This ensures clear, shiny pralines and a clean process. You can also use a silicone mold if you’re new to chocolate pouring.
In reviews of polycarbonate praline molds, people often complain that the chocolate doesn’t come out easily. This is not because of the mold, but because the chocolate wasn’t tempered correctly. Use really good couverture and follow the temperature curve, and the chocolate should come out easily.
Here’s a step-by-step guide:
- Temper the Chocolate: Temper your couverture as described above.
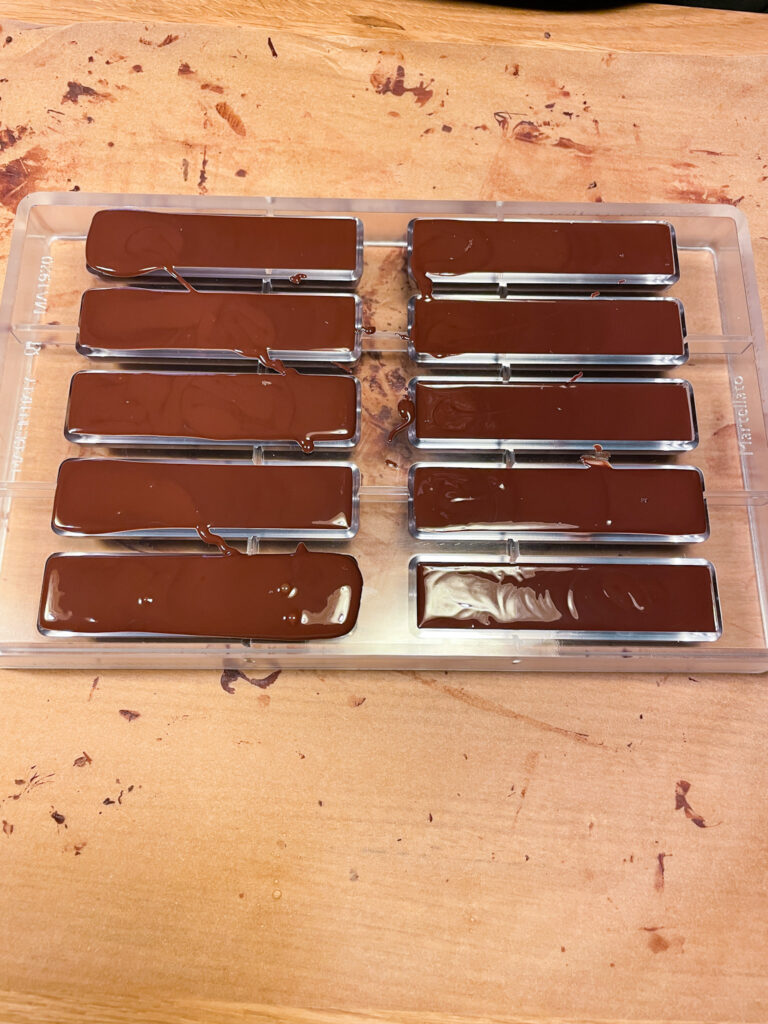
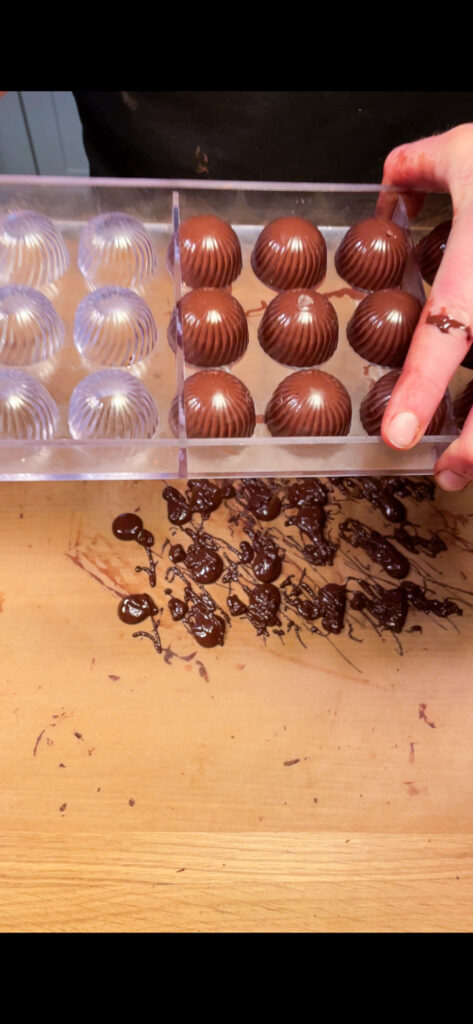
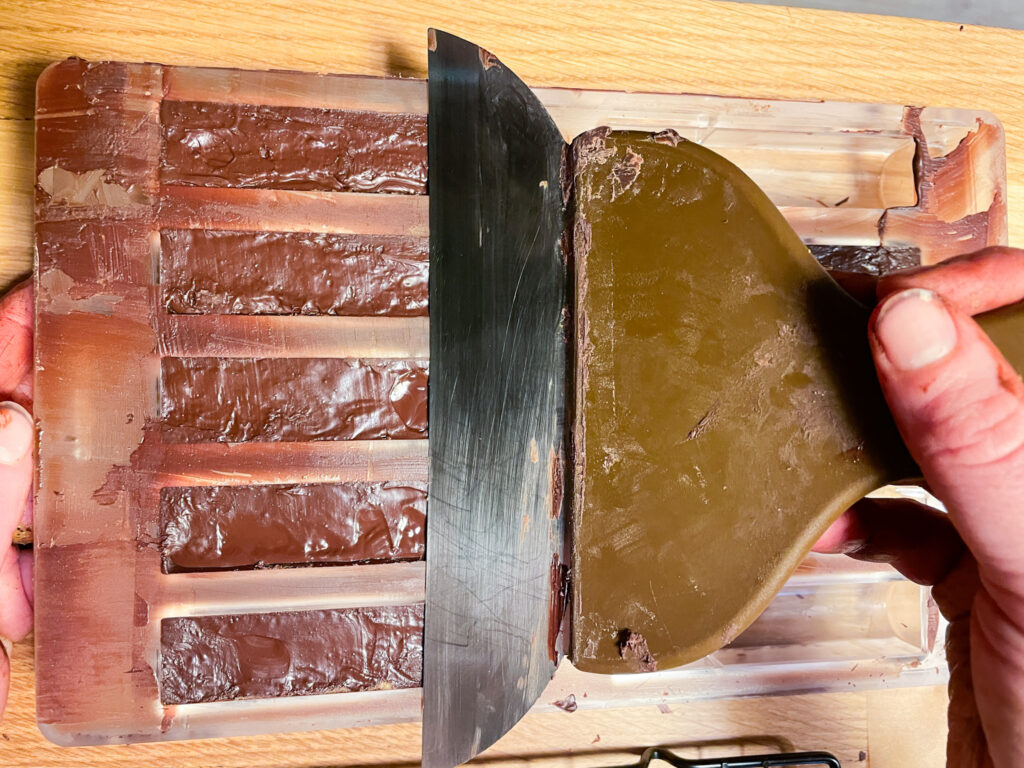
- Fill the Praline Mold: I prefer using a piping bag to fill the tempered chocolate into the mold. This gives me better control and allows for cleaner work. Gently tap the mold to release air bubbles. Once the couverture becomes a little thicker, turn the mold upside down and tap out the chocolate onto a piece of parchment paper. Then, use a chocolate spatula to smooth out the surface. If you don’t have a spatula, you can also use a dough scraper. This will ensure that the edges are neat, and the mold stays clean so that the pralines will come out easily. If you have time, allow the chocolate to cool and set at around 18-20°C room temperature. If you need to work faster, you can put the mold in the fridge for a short time, but never in the freezer, as this can cause the chocolate to develop spots.
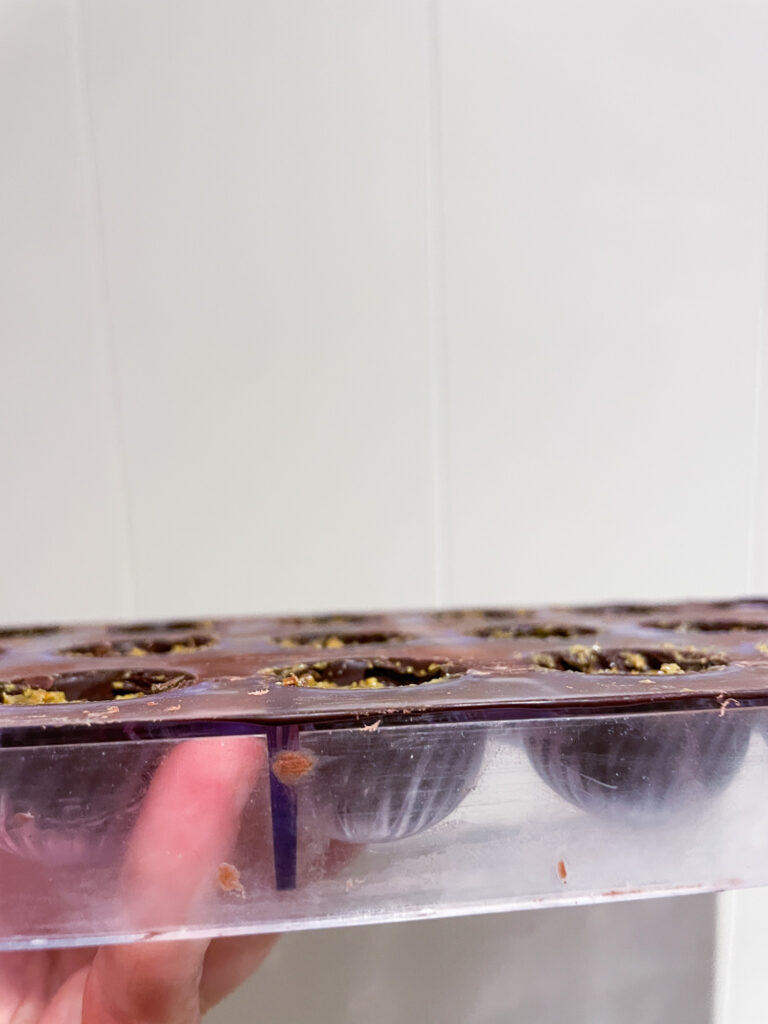
- Add the Filling: Once the chocolate has set in the mold, you can add the pistachio cream, tahini, and angel hair. Make sure to leave enough space for the chocolate seal on top.
- Seal the Chocolate: Once the filling has cooled and set, cover it with another layer of tempered chocolate. Use the chocolate spatula to smooth it out. If it’s not clean, repeat the process with a fresh spatula, then set the mold aside to harden.
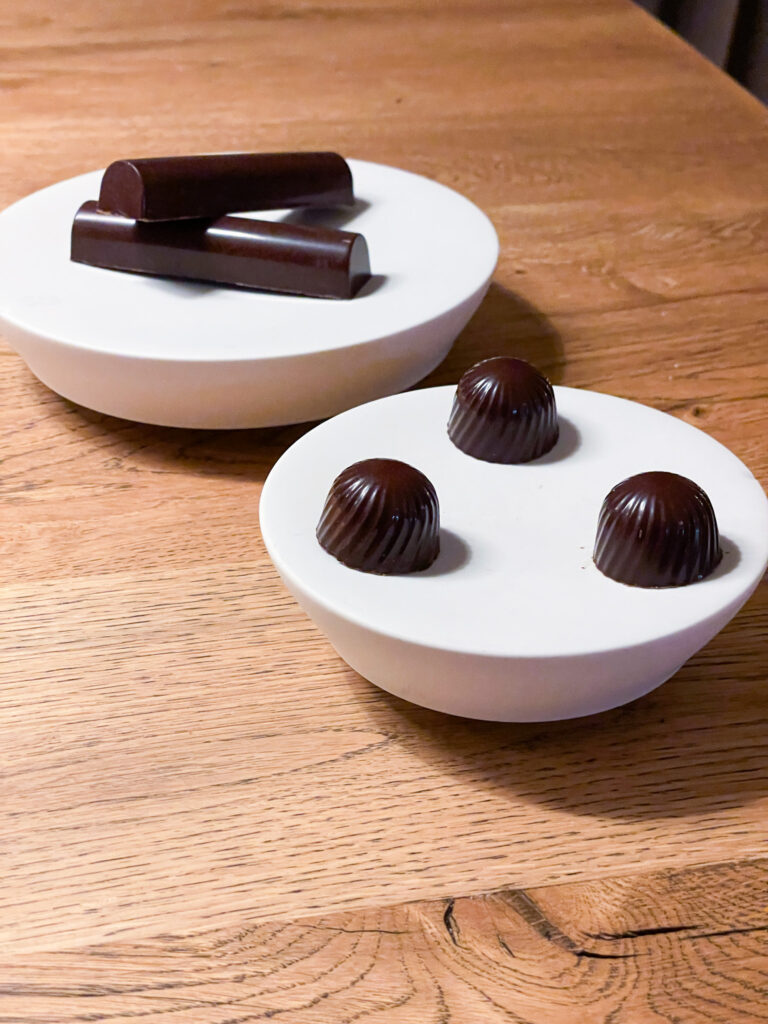
- Remove the Pralines: Once the chocolate has completely hardened, carefully tap the pralines out of the mold.
Conclusion: Homemade Dubai Chocolate
I don’t fully understand the hype around it. I found the pistachio filling very tasty, but I could do without the angel hair. Personally, I’m not the biggest fan of crunch.
With high-quality ingredients, some patience, and the right technique, you can easily recreate Dubai Chocolate at home – gluten-free and customized to your taste. Whether as a personal treat or as a gift, this chocolate is sure to be a hit!

3 comments
The recipe looks wonderful, but I don’t want to make it. I want to find gluten-free Dubai chocolate for purchase.
Thank you for sharing your recipe 🙂 I tried it today, but stopped at the angel hair because it just doesn’t go crunchy at all. I tried the only gluten-free flour I had (schär mix B) along with the corn starch, so that might be the issue. I´ll go to the shops and see if I can get some oat flour and give it another go.
Hi Mette, your flour should also work. A flour mix usually just contains more starch. Maybe try it with a bit hotter pan. Start when it is hot. Also when the angel hair gets cold it becomes crunchier. I took my soft angel hair, cut it in pieces how I liked it and then fried it. This time with butter. So again wait until the pan is hot and the butter is melted. I hope next time works better. Otherwise please do not hesitate to ask again.